
Good wear photographs show both the concern and where it sits on the product. They help a supplier understand the question, but they do not replace the exact model’s inspection instructions or establish a cause by themselves.
Start with an overview
Show the complete item in a well-lit, stationary setting, then show the other sock for comparison if relevant. Keep the orientation understandable. An isolated close-up can make it difficult to tell which part is affected or how extensive the change appears.
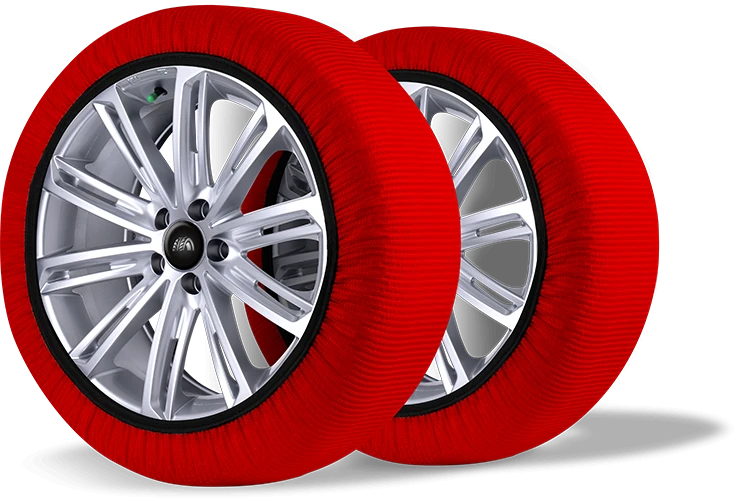
Add a focused detail and identity
Take a clear detail image without hiding the surrounding area. Include the product label, series and size information in a separate readable image. Avoid applying filters or making alterations that change the apparent condition.
Attach a brief factual history
State when the concern was noticed and what use is known. Include the tyre code and any relevant surface changes. If a distance or event is uncertain, mark it as uncertain rather than turning the photograph into evidence for an assumed explanation.
- Whole item
- Affected detail
- Product identity and known history
A useful photo set answers “which item, which area and what is known?” It should leave room for the appropriate product-specific assessment instead of trying to prove a diagnosis before the question is reviewed.

